
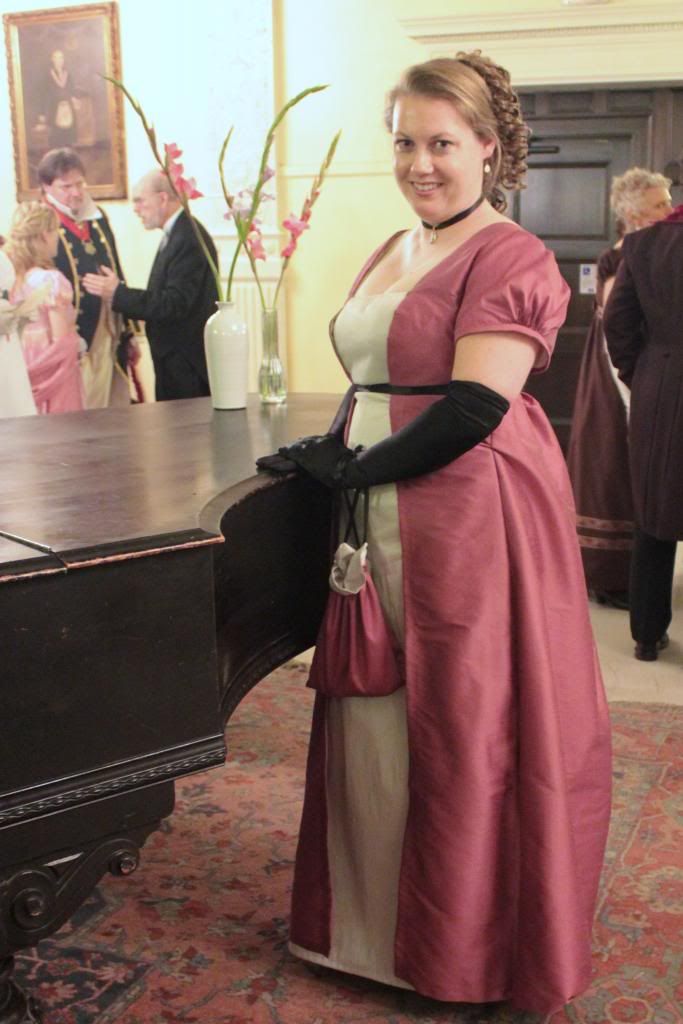
I made my gown in time for the ball and had a wonderful time wearing it!
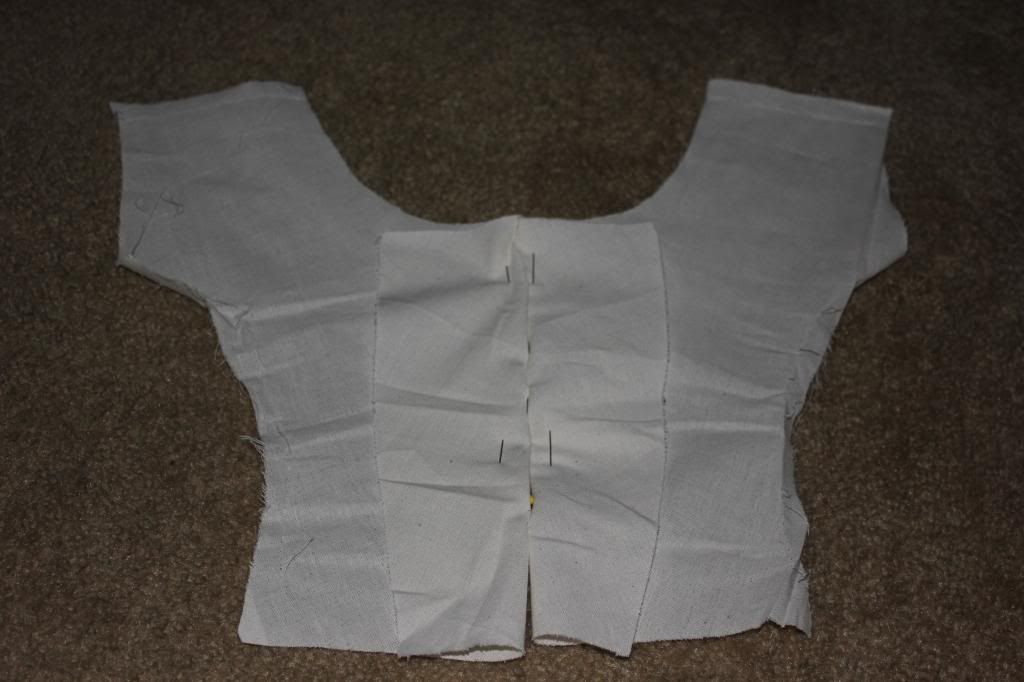
Then I took my piece for the front and cut it where I felt I would like the pink overlay to fall. This gave me the armpit shape and a guess of how large I would like the panel to be.
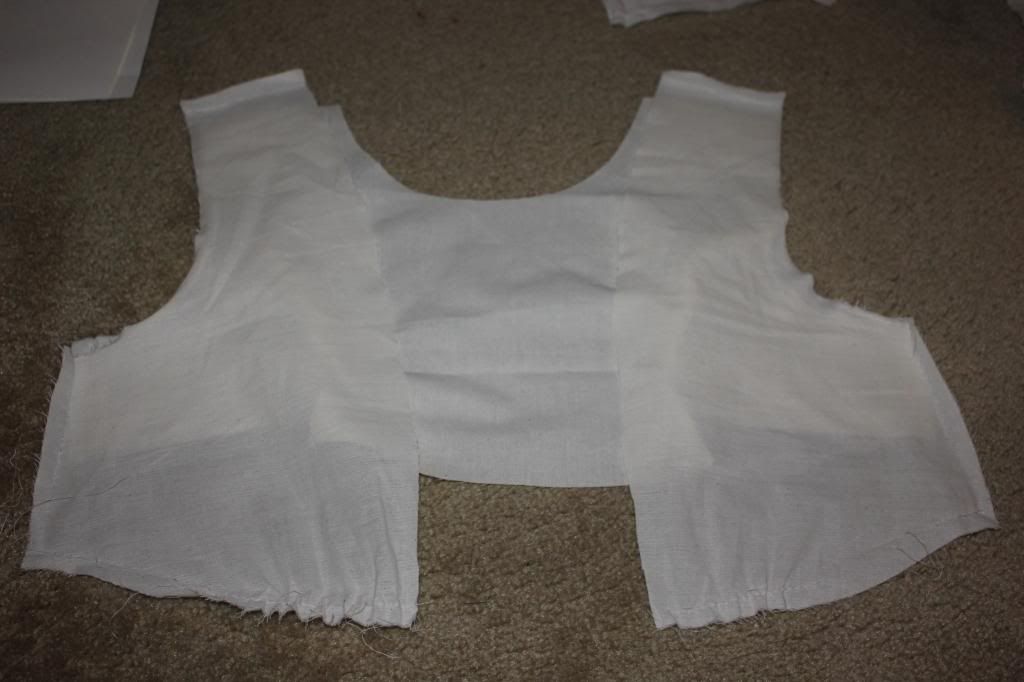
I sewed them all together to see if they'd work. For the center piece I used one large rectangle of fabric. I also sewed some biased tape to the inside that I then tied around my rib-cage in order to keep the panel pulled tight.
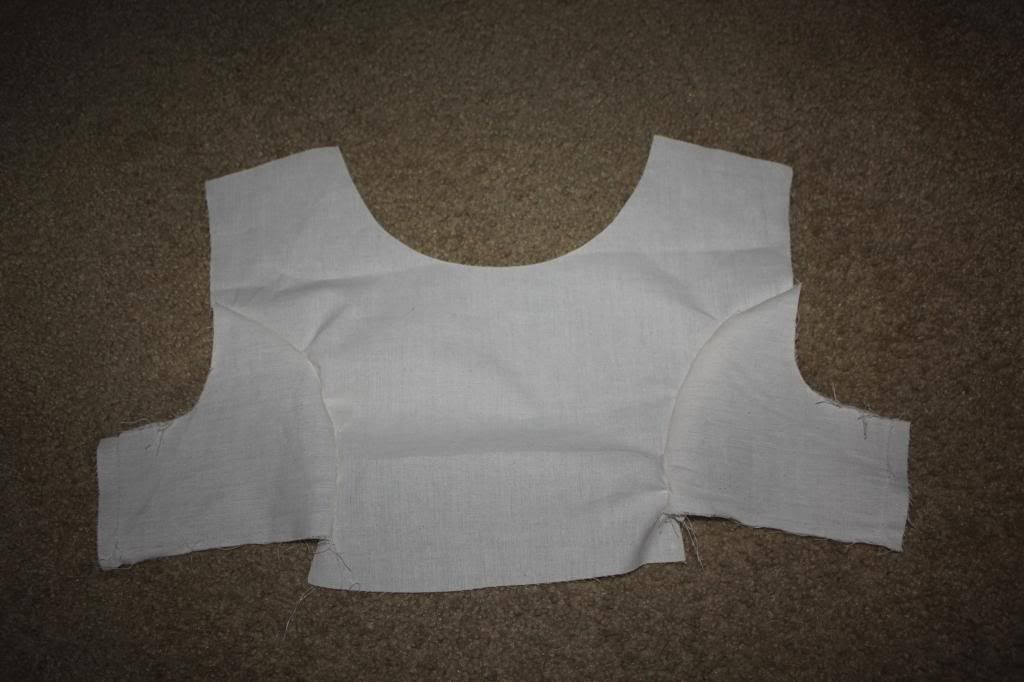
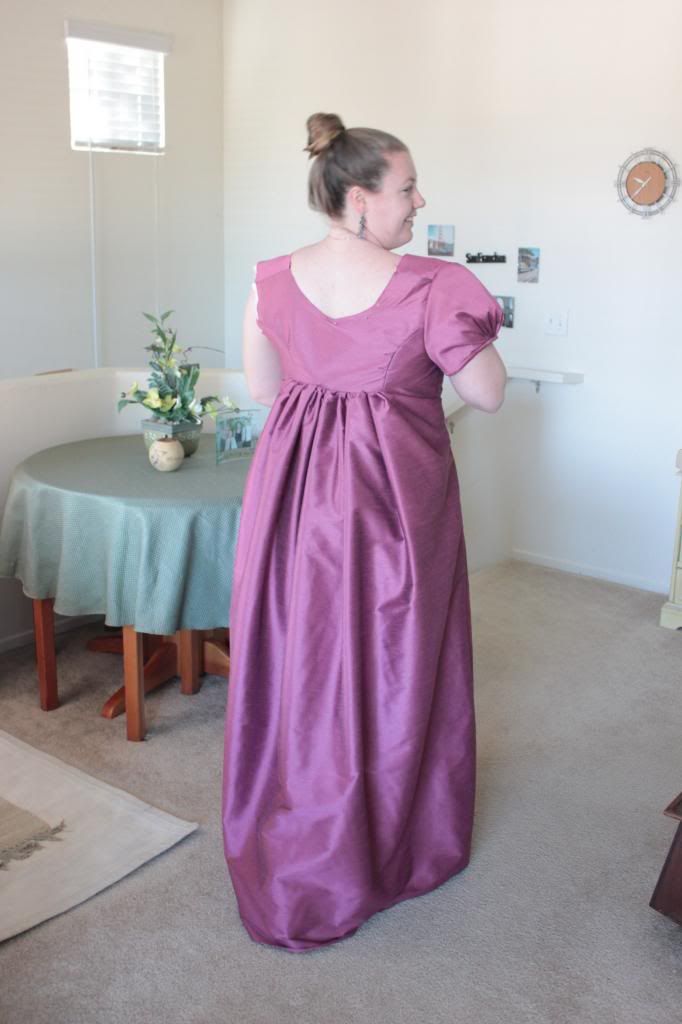
I already love the way the back looks. I want to make some cotton gowns with a solid back/front closure.

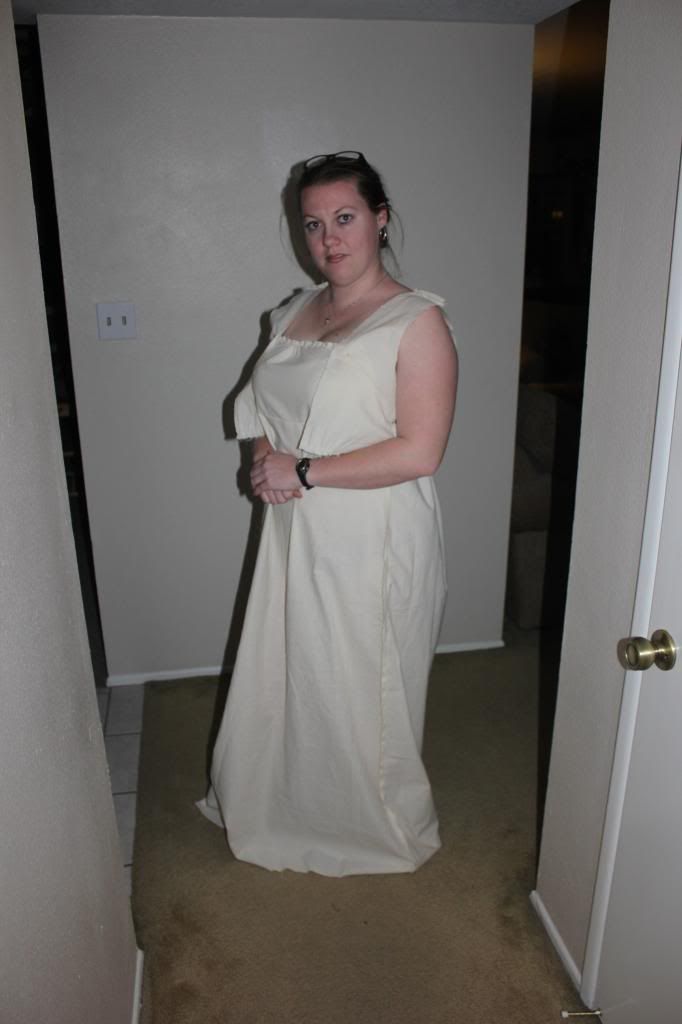
I then used my muslin pieces to cut the gown out of silk and line it with the muslin. Here are some photos of it in progress, you can tell I have a lot of adjusting to do!
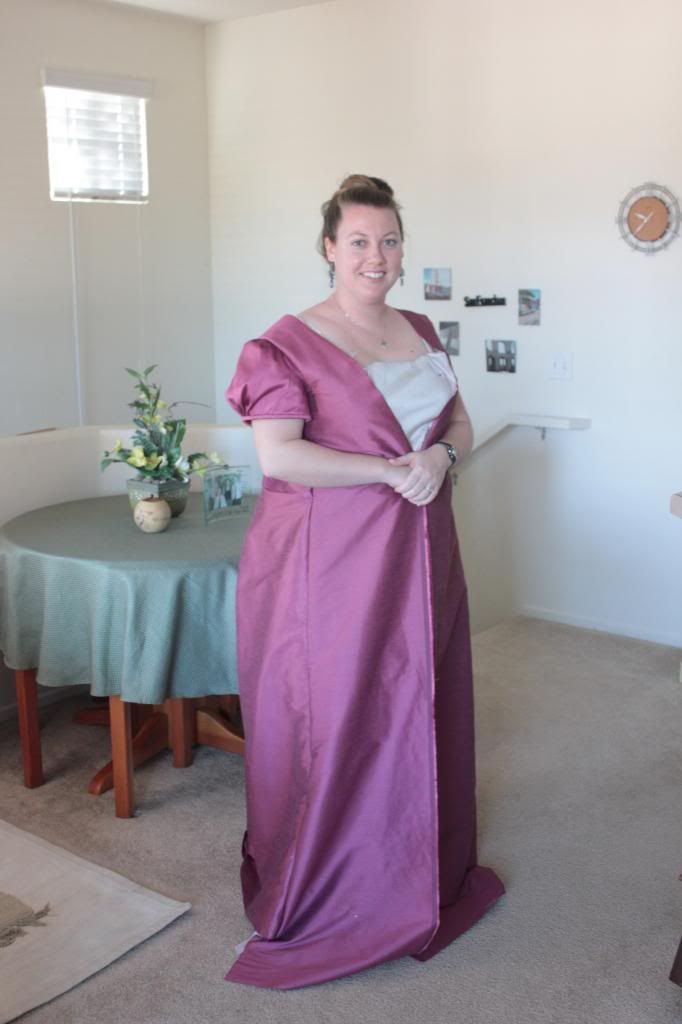
Do you think it needs two sleeves? One is fun!
Sadly it became crunch time and I was too busy to think about stopping to take pictures. Here is the end result:
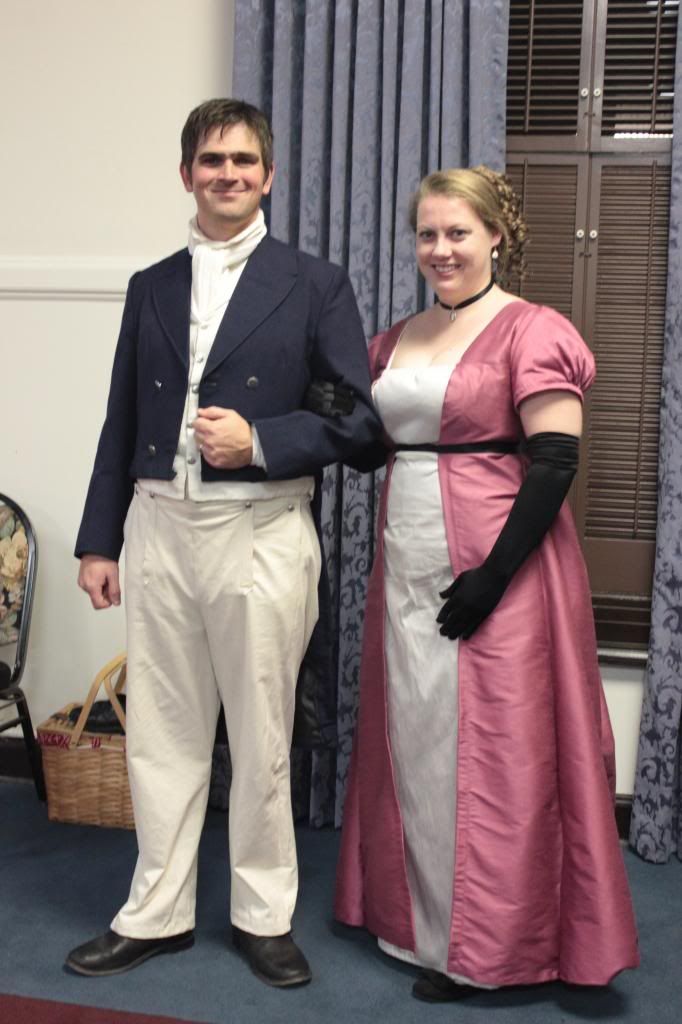
You might have noticed Ben did a little wardrobe change. He went from civilian to being in the 95th Rifles.
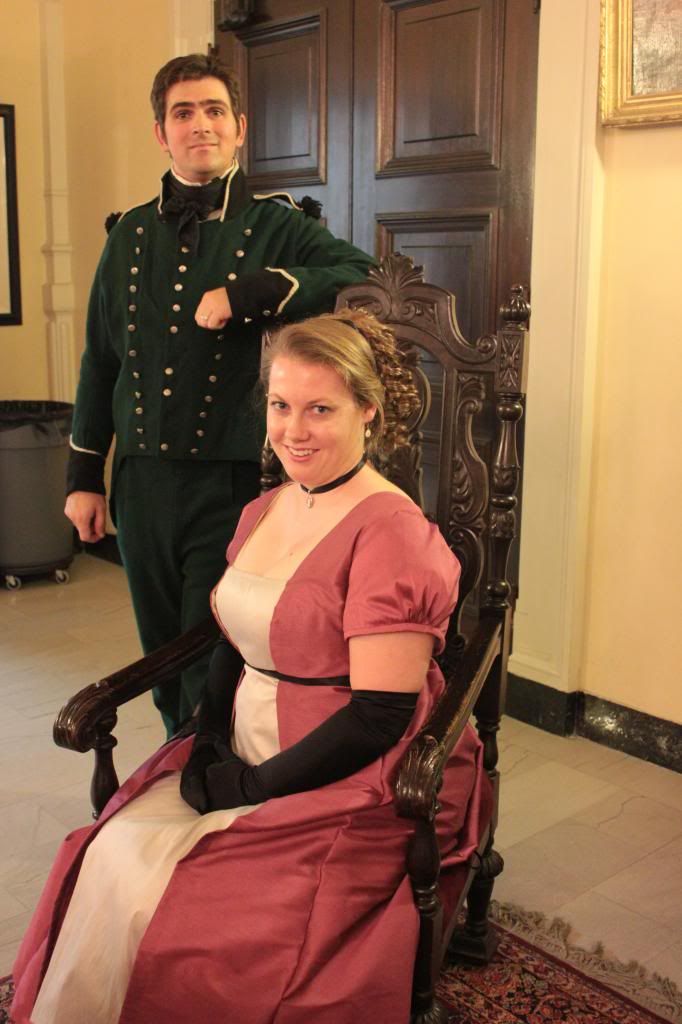
There are still several things I'd like to improve with this gown, but overall I am very happy with the way it came out!

No comments:
Post a Comment