Loni and I just love strings of globe lights for some awesome evening outdoor ambiance. They cast enough light to entertain by, and also add a certain magical feel to any post-daylight experience. Trouble is they are extremely finicky to install, and break very easily. Luckily, as we've had to install and reinstall our set of lights several times this last week (since they were used in a party off site), we've learned a thing or two about safe handling.
For my latest install on our patio, I used these tools: staple gun, nylon twine, scissors, a lighter (for cauterizing the twine) and two pencils/pens. This method will hang the lights from the twine using the small clips on the backs of each bulb, instead of using the power cord to hold the weight of the lights. The twine is 24lb test so it should do a good job of holding up the lights. Remember: they weigh more and are more delicate than Christmas lights!
Step 1: lay out one strand of lights carefully on a soft surface. I used the grass out back, but carpet should work just about as well.
Step 2: Measure your twine. Stick a pen/pencil into the ground at each end of the string of lights. Tie off one end of the twine to one pencil.
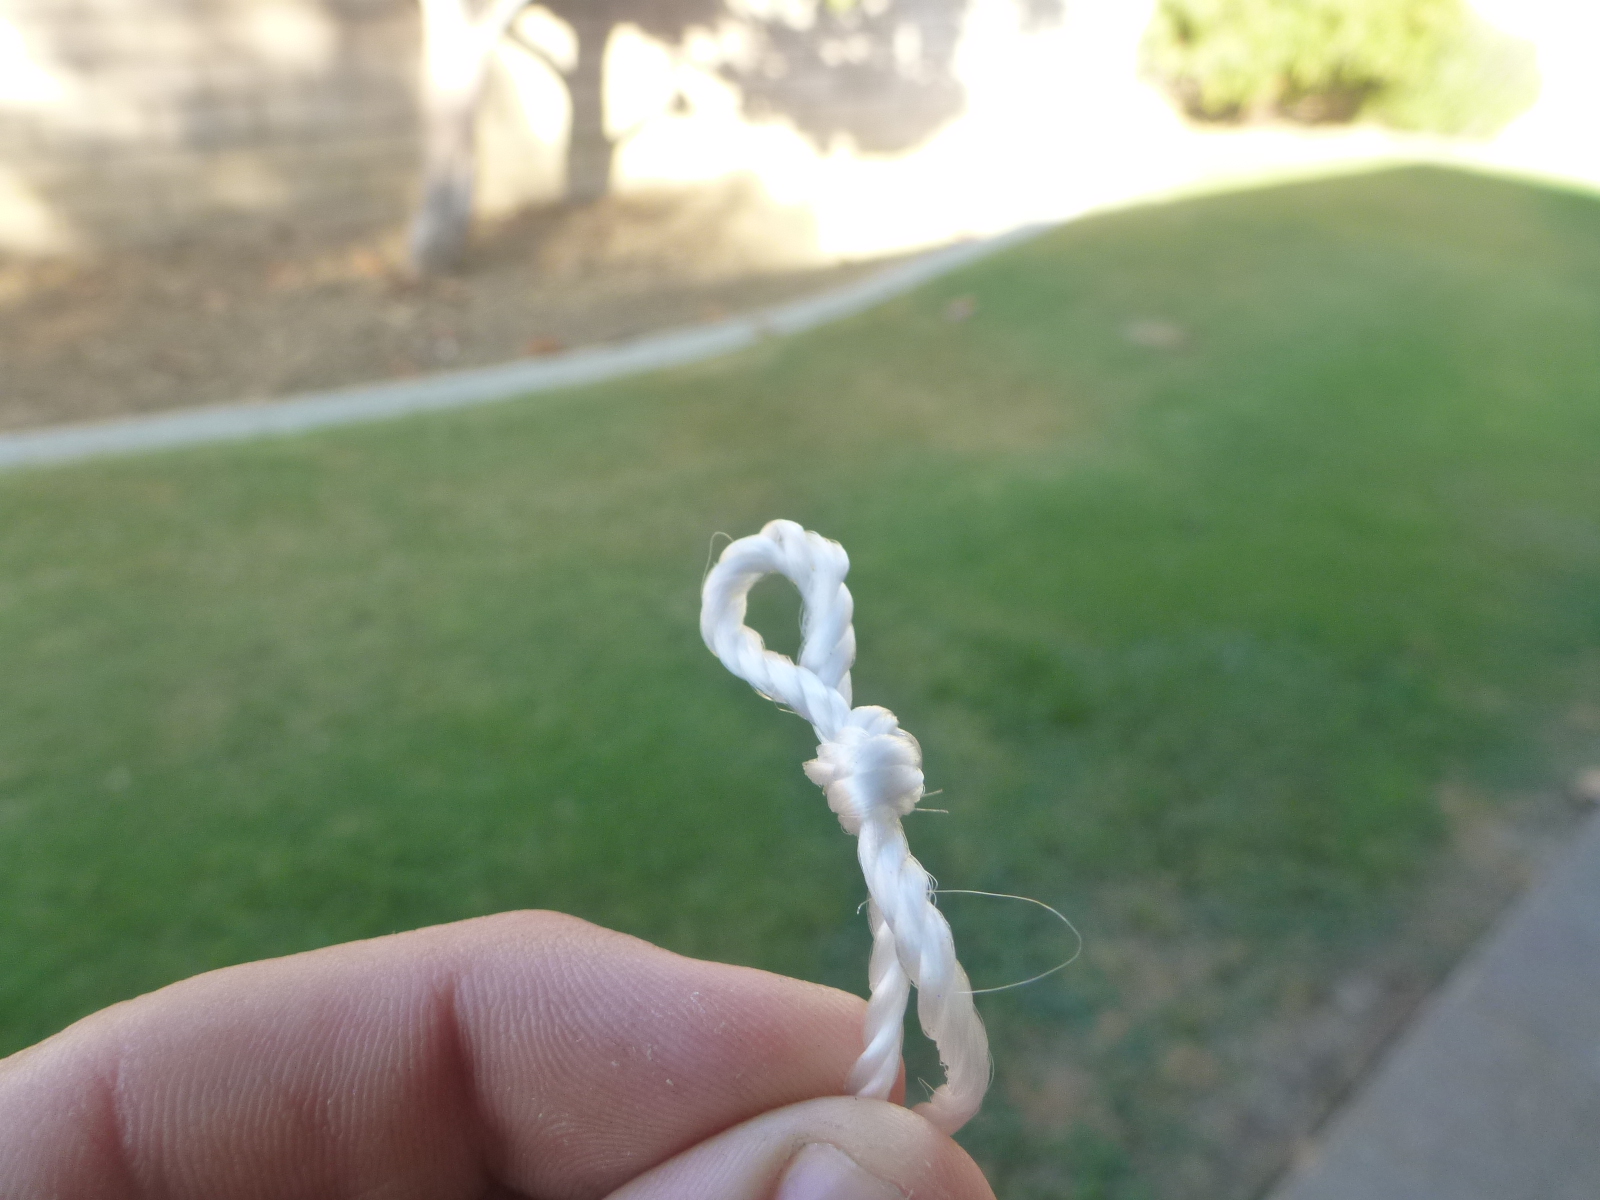
Wrap the twine between the two stakes in the ground, making one pass for every strand of lights you intend to hang. This will get you the right length of twine easily. I tied the ends off into small loops, as well as in the middle of the string.
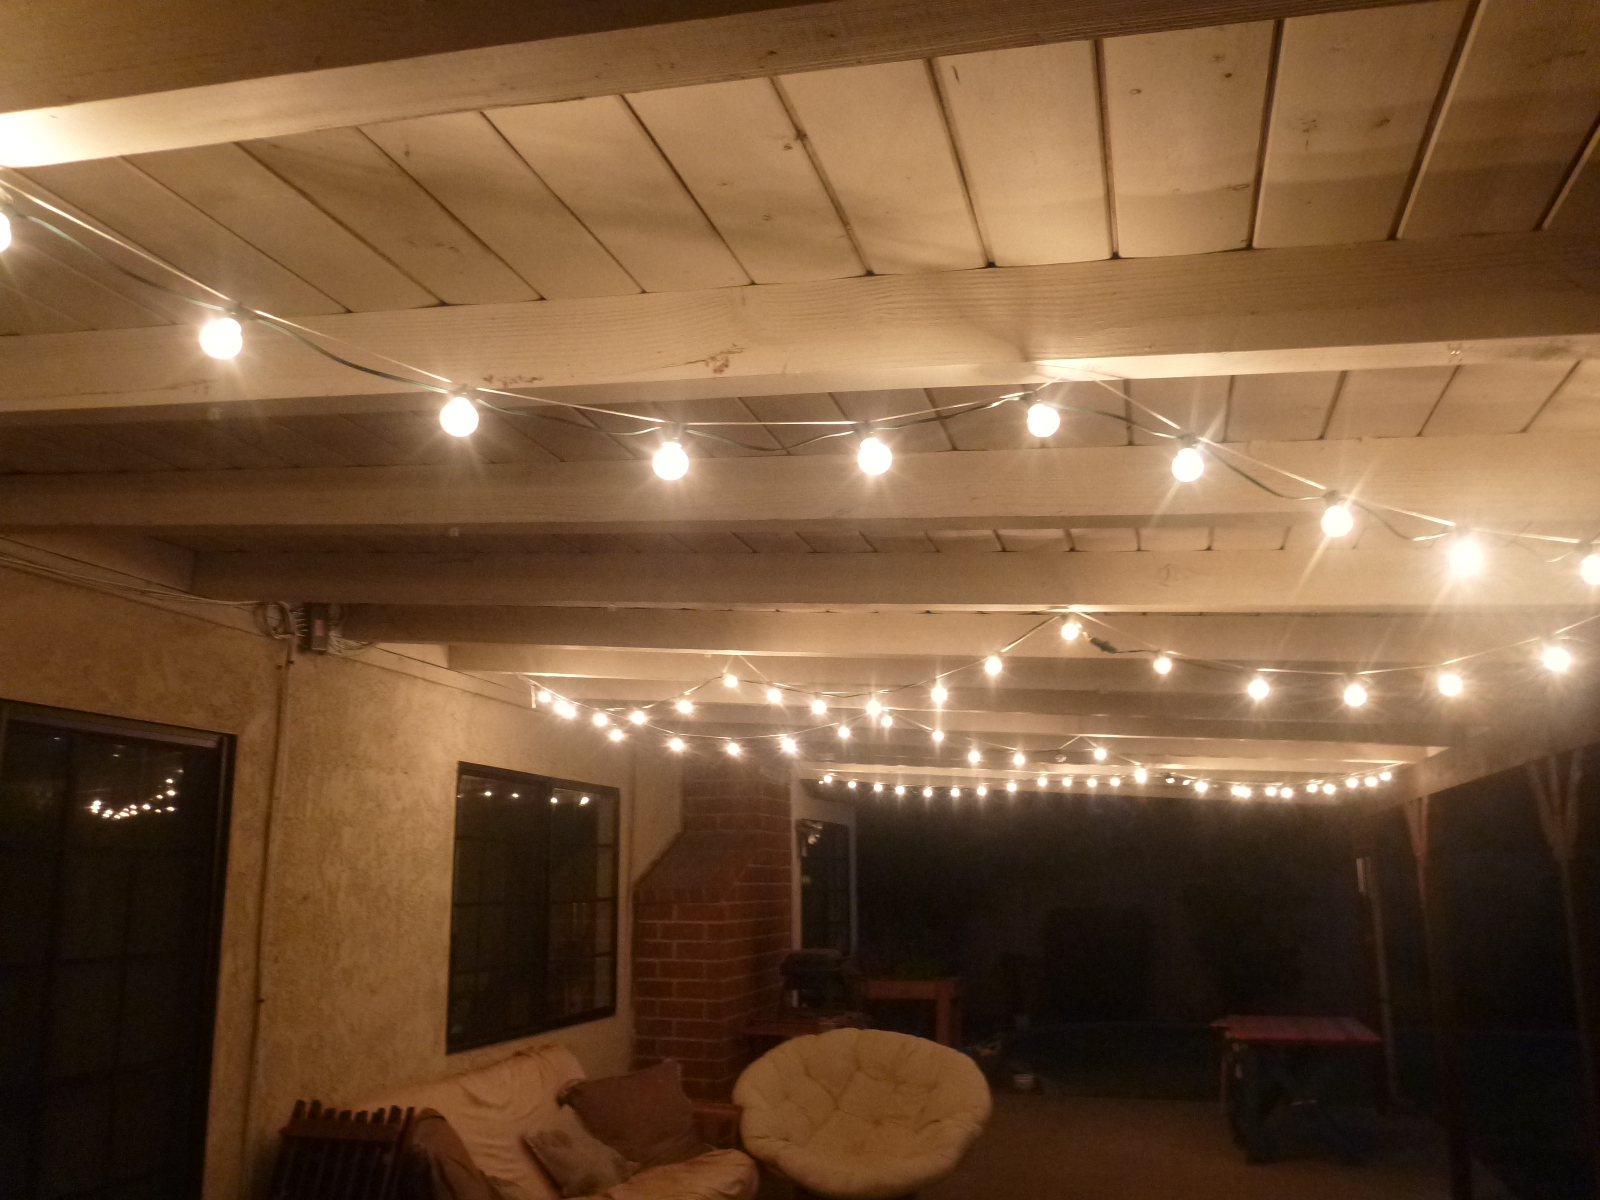
Step3: Mount the string up to the place you want your lights to hang from. I staplegunned the ends of the string first to my endpoints. Then I takced up the centrepoint in the middle of our patio awning. After that I put up the two new midpoints, and made a W shape on the ceiling.
Step 4: Once the string is all tacked up in place, simply hang the lights onto the string using the clips on the back of each bulb. You may want to adjust the spacing of your lights once they're up, but since they're not nailed in place themselves, you have the freedom to do this.
Plug in and enjoy!
That's all for now - I hope you find this helpful.
Thank you to Loni for chance to guest write!


Thank you!
ReplyDeleteGlad to help! :)
DeleteThis comment has been removed by a blog administrator.
ReplyDelete