

The original post came from I Heart Naptime and she was inspired from a Pottery Barn item. I loved the way her's turned out, except I wanted to put mine in a bucket. I got my friend Lauren all excited about the craft too, so one day when she was out working and came across a bunch of pine cones she gathered them up and got the ball rolling!
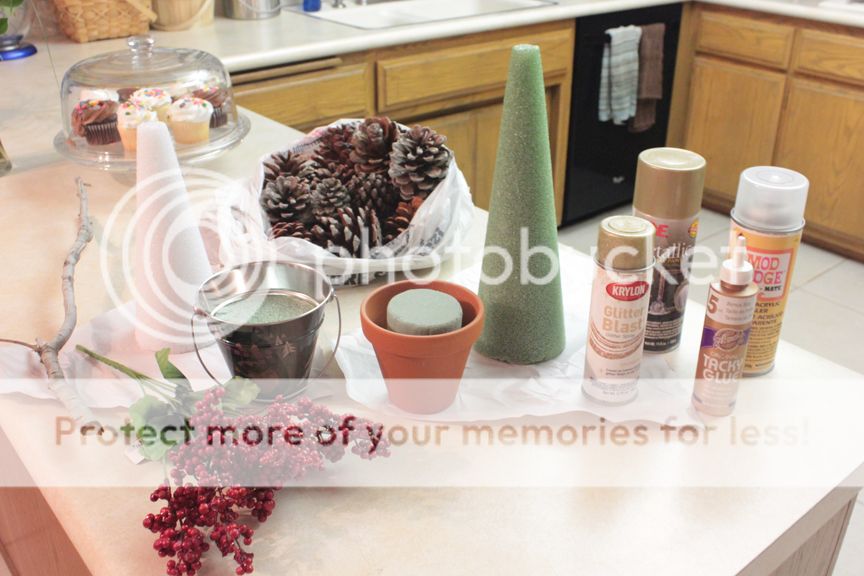
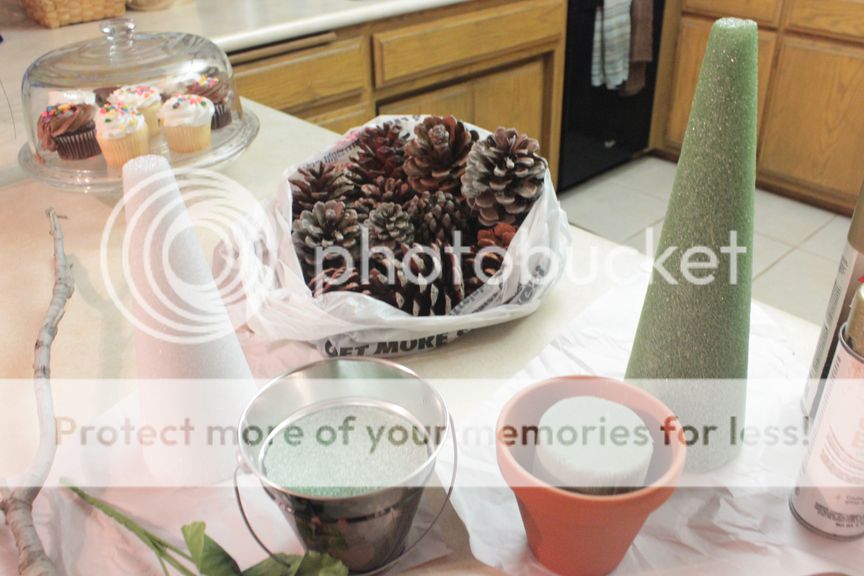
We each bought a styrofoam cone, a pot/bucket and more styrofoam for the bottom of our container.
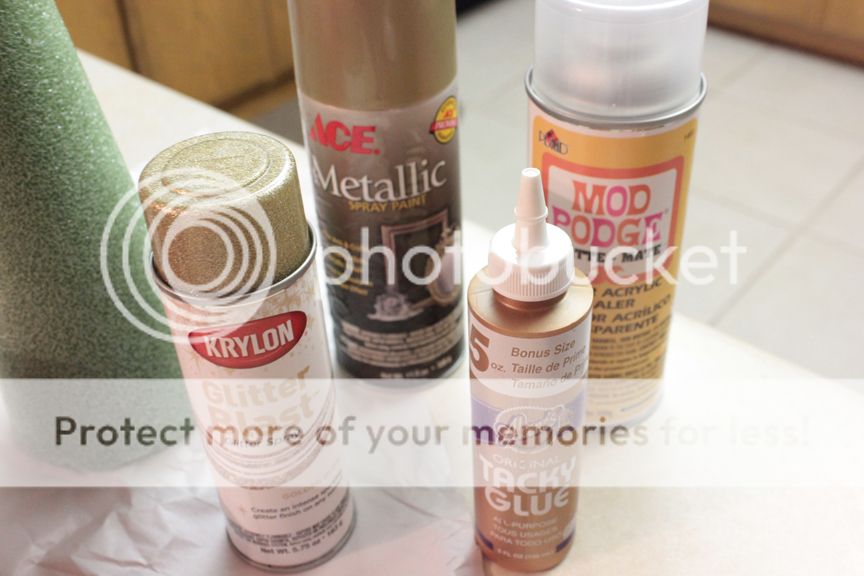
We decided our cones needed to be gold so we pulled out the gold spray paint, Lauren wanted gold glitter, and we needed some glue (either Tacky or Mod Podge will do). Not shown are the glue guns we used to attach the pine cones.
I also picked up some Dollar Tree holiday berries to embellish my cone.


We wrapped our cones in paper so that when we hot glued the pine cones to the cone it wouldn't melt the styrofoam. We each tested a different glue, I used Tacky Glue and Lauren used Mod Podge. The results were = both successful!

The paper was a little long after rolling it around and gluing it, so an Exacto knife was handy at trimming it off.

Next we spray painted our cones gold so that we wouldn't have any spots showing through after attaching the pine cones.
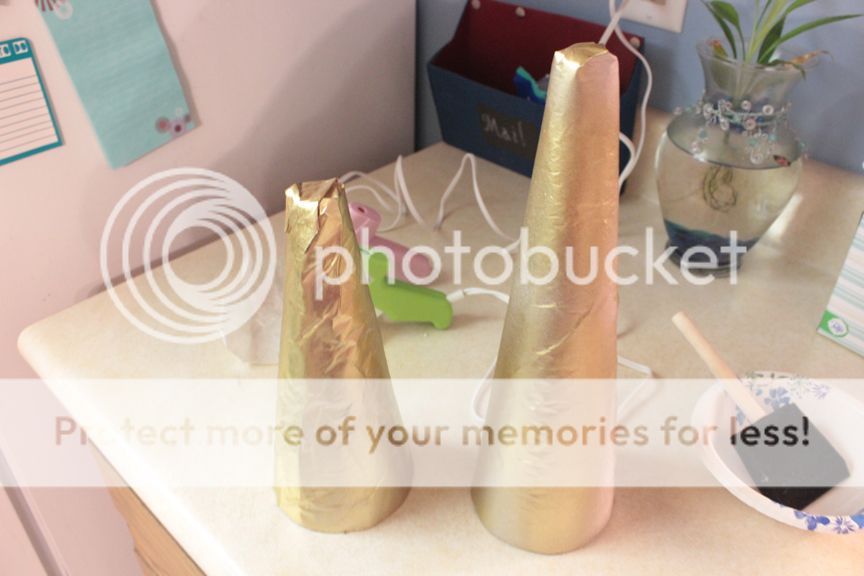
There's a bit of a size difference here...

Time to fix it!

Watch out cones, Lauren is vicious!

Then it came time to select our pine cones, we pulled out every pine cone we had - even ones from previous decorations (that's why you see some gold ones).

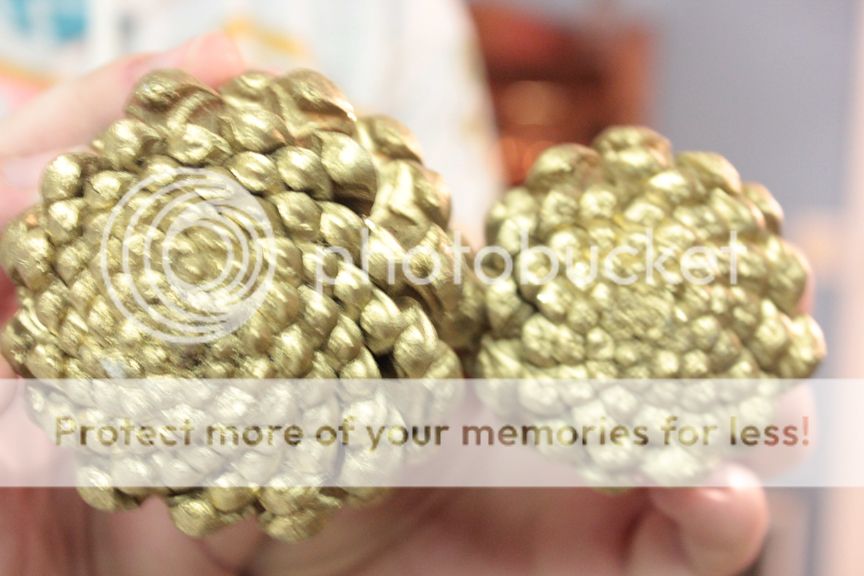
Lauren was eyeballing the bottoms of some of the pine cones, they were quite beautiful. She decided she wanted her tree to just be these rings.
Which tool to use to separate them????

We tried the saw but we were getting nowhere fast. Next we tried the branch trimmers, they worked like a charm! Warning, piece of pine cone will go flying EVERYWHERE!

Check out that awesome pile!

Lauren began gluing them onto her cone. She filled in the little gaps with broken off pieces.
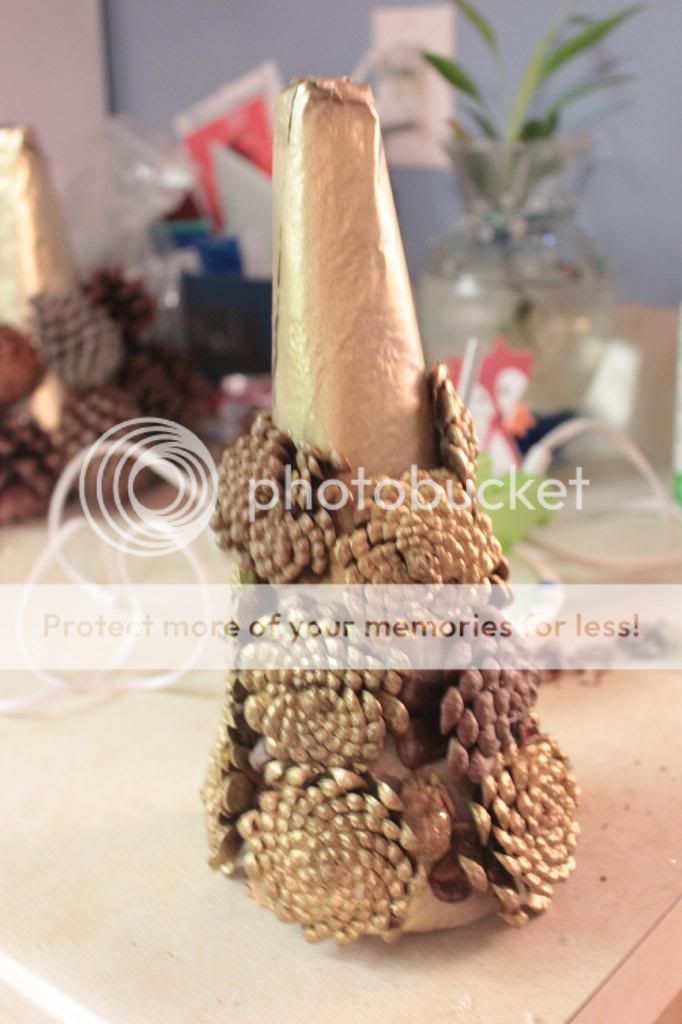
I decided to try the "whole" pine cone approach. I selected the smallest cones I could find.

After they were all glued on we sprayed them gold! The craziest thing happened with Lauren's glitter spray, it got stuck in the on position and wouldn't stop spraying!!! Has that ever happened to you???

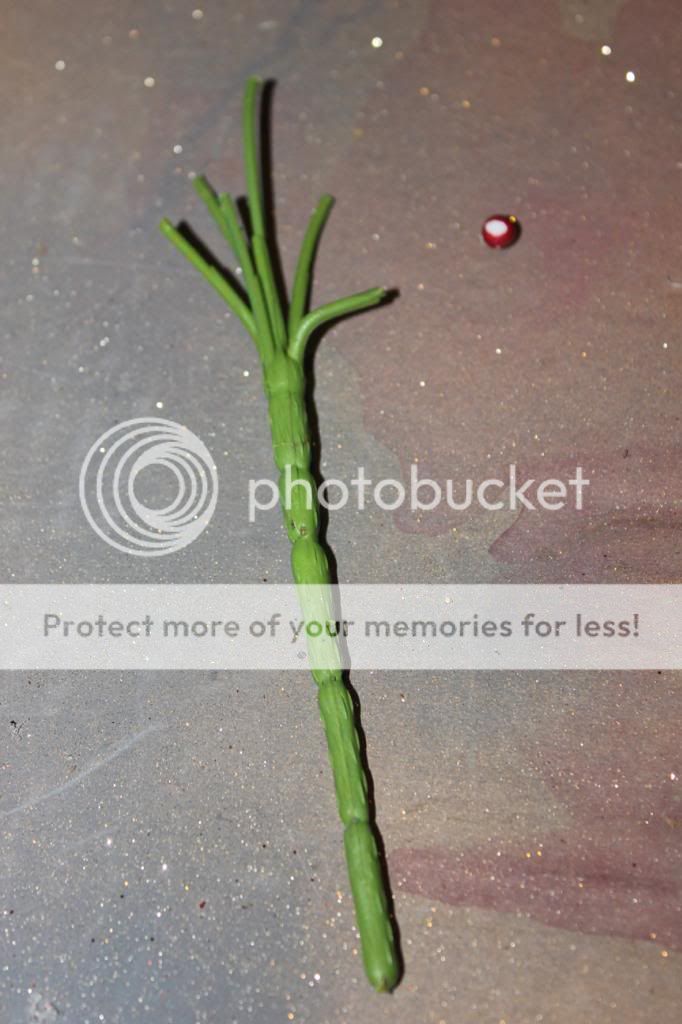
Lauren even scavenged a great looking stick, so we cut it in half to share!

And then we discovered that although it at first appeared pretty straight, when you're aiming to make it "tree straight" that can be quite a challenge. We did the best we could to insert them into the foam in a direction that would make the tree stand up straight and tall. I should also point out that we hot glued our styrofoam to the insides of our pot/bucket and then glued the stick in place - it required a lake of glue because it kept melting the foam.

I trimmed off my berries to add to the tree.

I was left with this interesting looking stem. I wonder what sort of craft I could make out of it?
We then added greenery to cover up the foam and ta-da our Pine Cone Tree Topiaries!
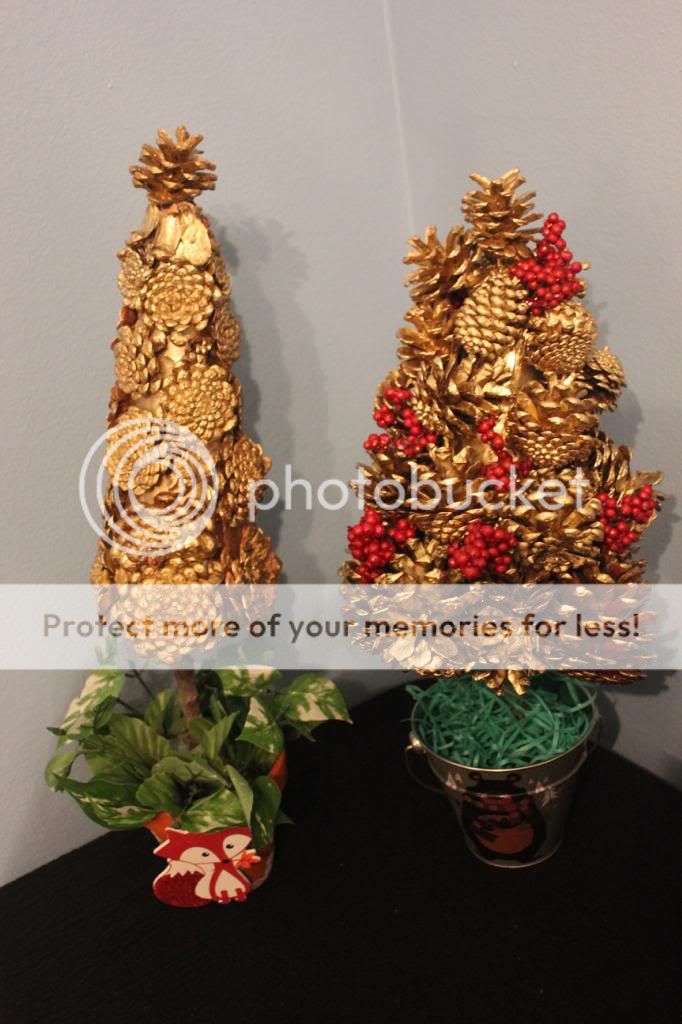
Lauren embellished her pot with white glitter glue and a cute fox decoration.

I think her tree turned out beautiful!
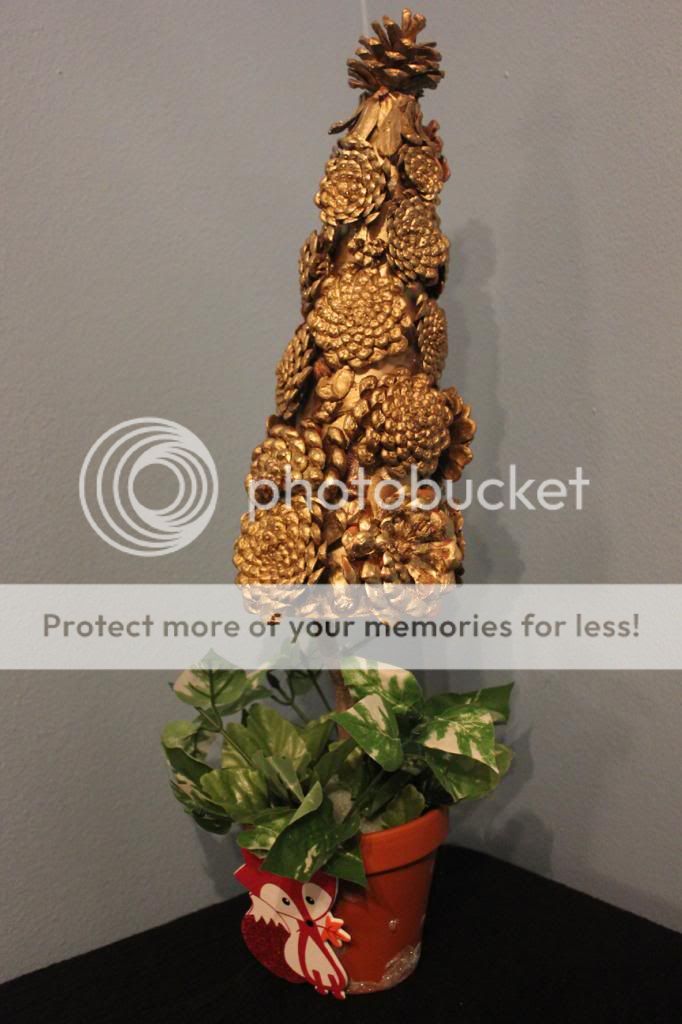
And here is my tree!

If you look closely you can see the paper cone beneath, that's why you spray it first!

I liked it, but I didn't love my cheap faux grass.

So I ran to Dollar Tree and bought some reindeer moss, much better!


No comments:
Post a Comment